Wizard Tag
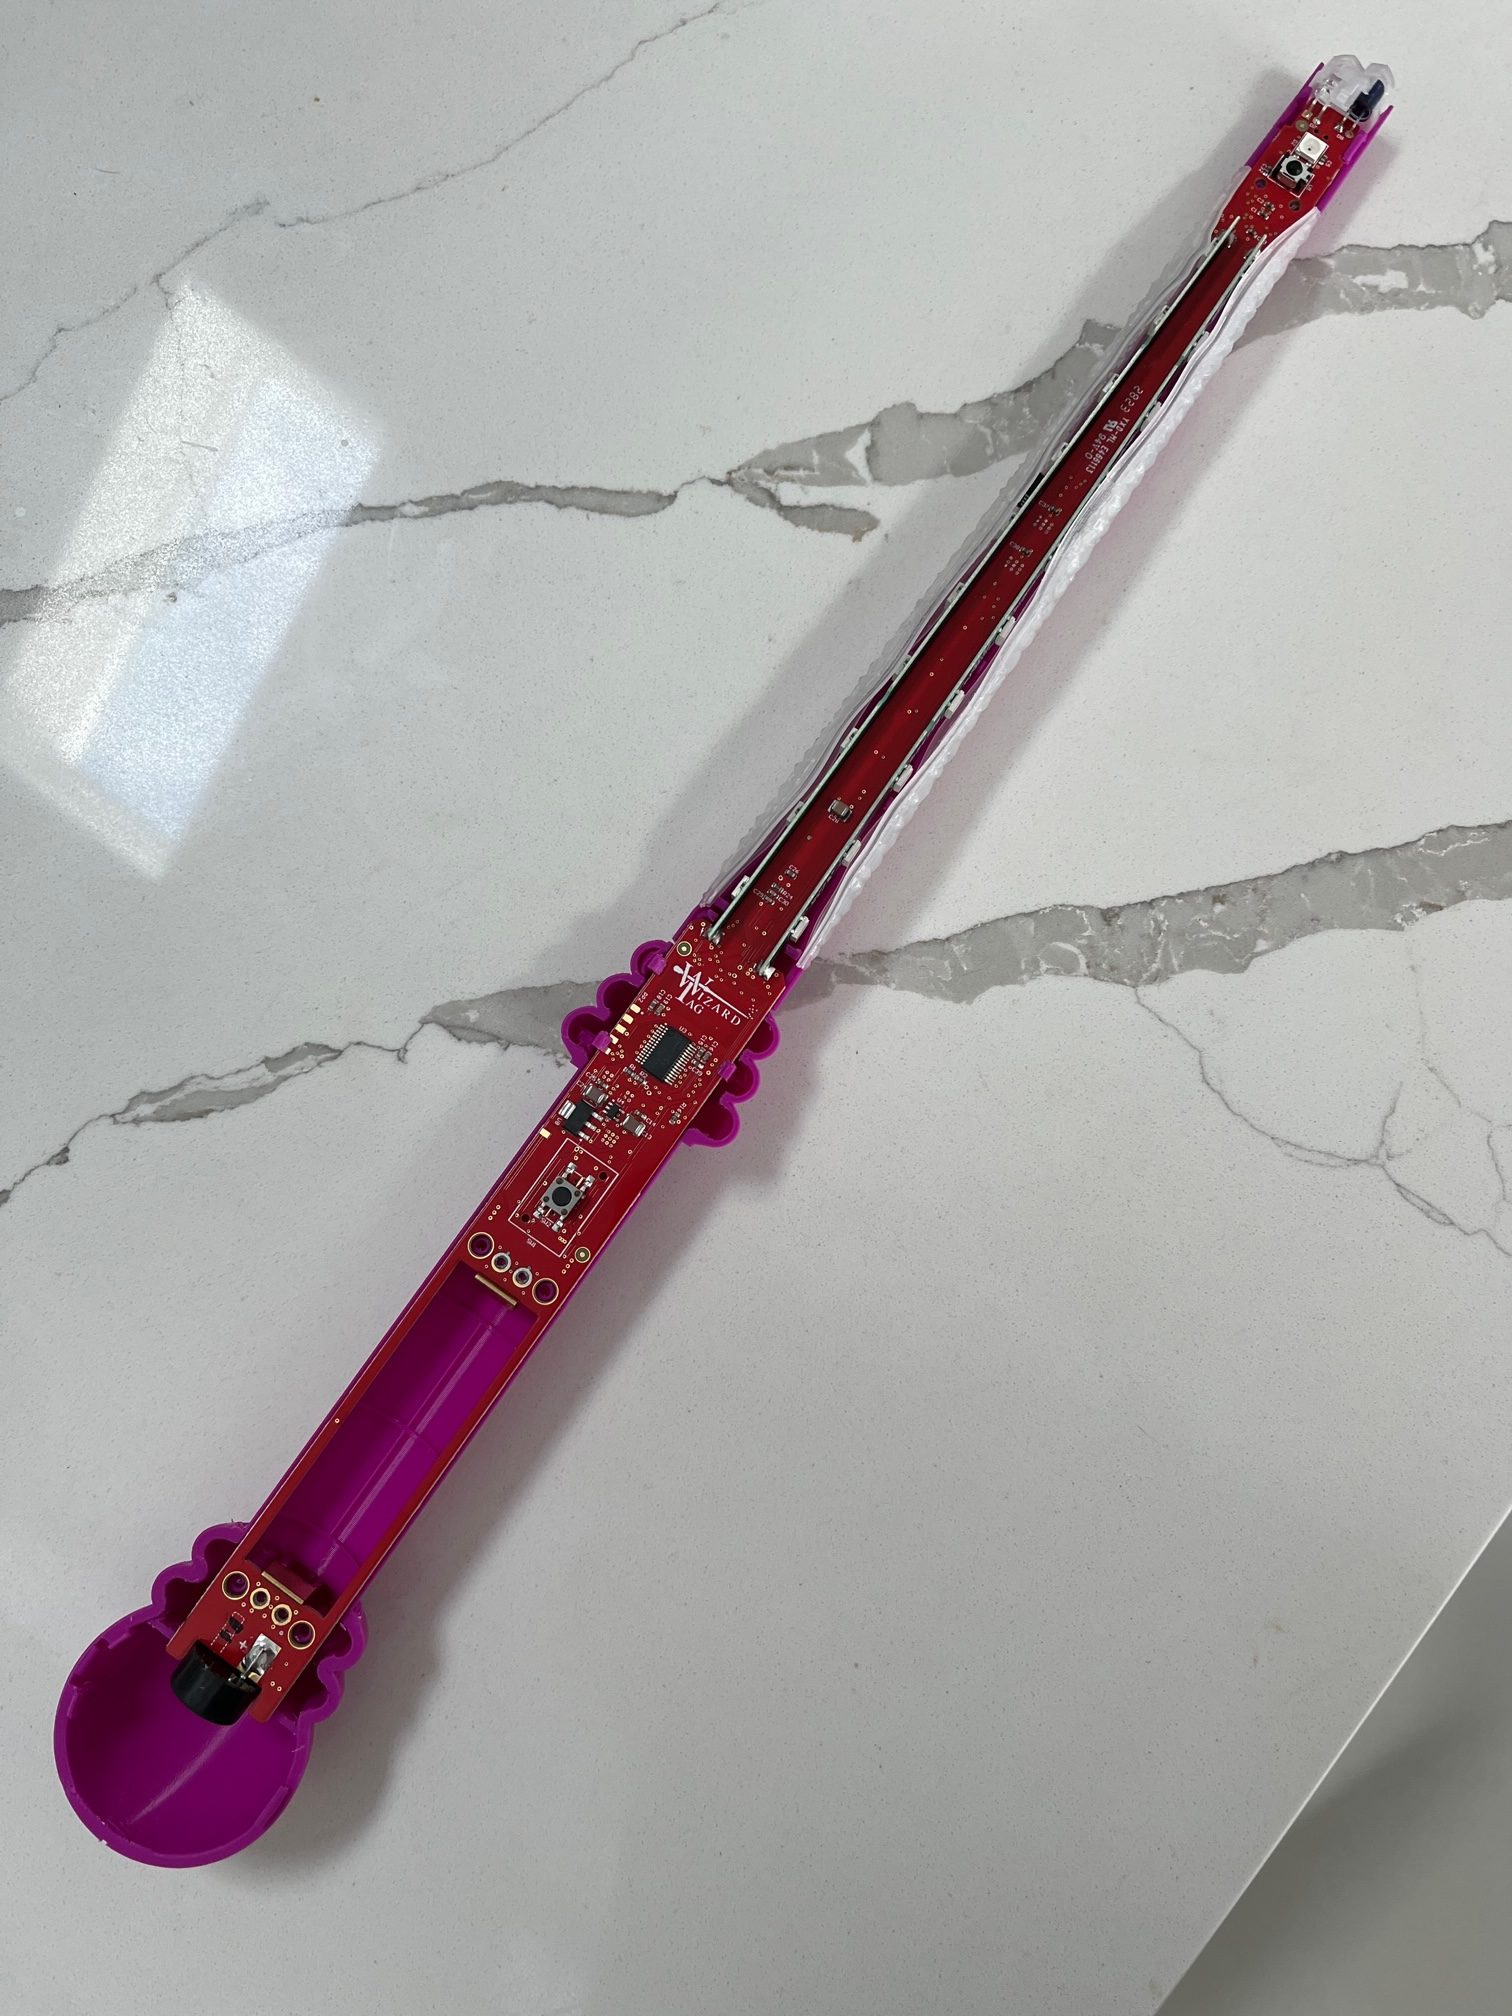
This is the chronicle of progress on circuit board design from the beginning up to the board design that is ready for mass production.
A Lookback at Wizard Tag’s Achievements with Printed Circuit Boards
How did it start?
One of the first people we met at the beginning of our project was one of the owners of the circuit board manufacturing company that we quickly chose to make the Wizard Tag boards. We toured the facility and were amazed by the machines.
All of the engineers working on the Wizard Tag wands were highly experienced and well versed on circuit board development. They knew that designs don’t always work and revisions are always necessary, sometimes due to errors, but more often due to changes in hardware or layout requirements. This is a description of Wizard Tag’s PCB journey.
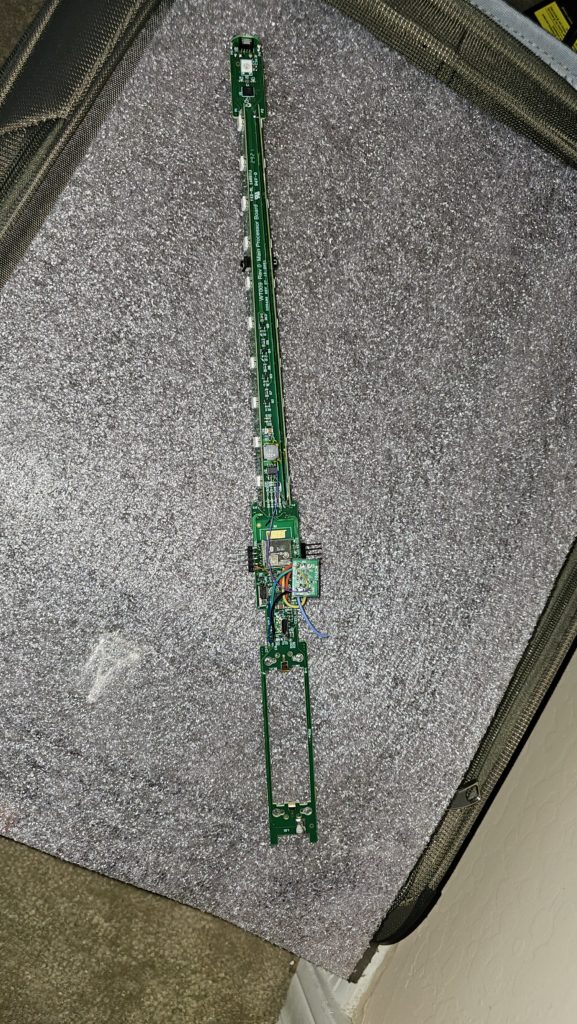
The first Printed Circuit Board assemblies, or PCBs
We were so excited to see the first printed circuit boards for Wizard Tag, but our engineers told us that the work was just getting started. The boards are designed using elaborate software, but they still require a lot of physical testing.
The process of making the boards is amazing and is done with “pick and place” machines, which are like giant printers that grab electronic components off of reels and place them precisely on the board. We did have a number of components that had to be individually soldered into place by humans.
Testing PCBs
We were told that the initial testing would include smoke tests, testing power supply, audio, haptics, and of course the lighting. Testing revealed that there were issues with the power supply and re-design for the first board revision was already underway. As soon as the first circuit boards were printed, we knew that Wizard Tag was real, but there was a long way to go.
By the second revision of the PCB, we believed that most of the changes were complete! The power supply test was good and many other tests were done to make sure that the circuits worked as planned. We believed that everything was 99.7% final on the board. That is when changes started to roll in with hardware.
Incorporating changes based on test results
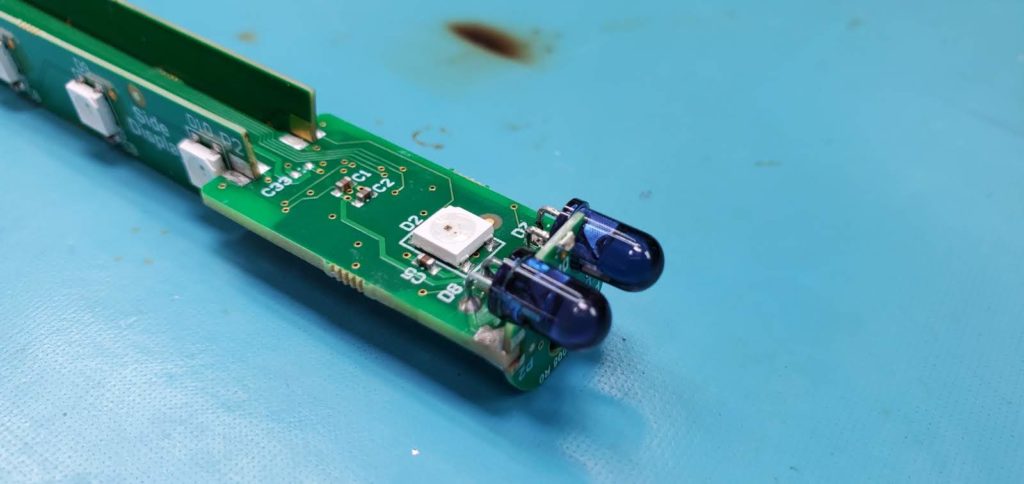
Anytime the hardware changes, that means changes for the PCB. Input from the programmers led us to increase the amount of flash memory in the device, primarily to be able to store more audio files. That meant design changes to the board to support the bigger chips. We also found better infrared light emitting diodes (IR LEDs), and this led to significant changes to the circuits.
When we began testing IR communications with the wands, we found that we had to adjust the resistors in the circuits to change the power going to the IR LEDs in order to extend their ranges. These changes were relatively simple for PCB design, since the resistance amount was just changed out and the circuit design did not change. However, we found that the lighting effects could be reducing power to the IR system, so we had to route a direct power supply to the IR LEDs, which was a more significant board change.
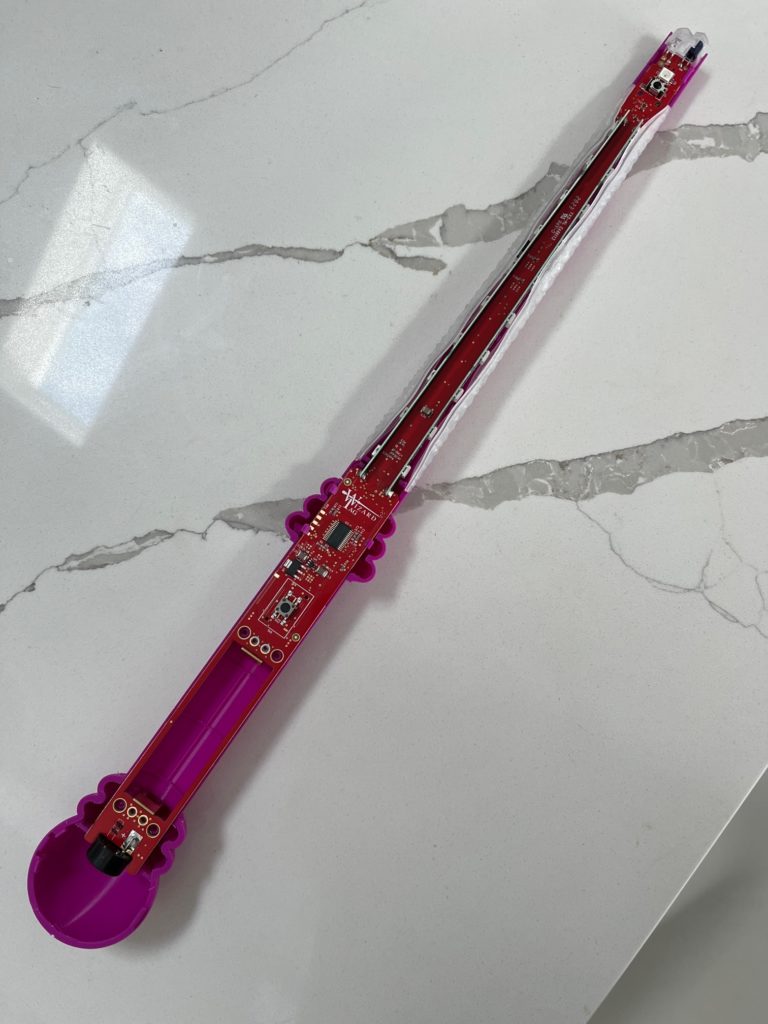
Third revision is almost 100%!
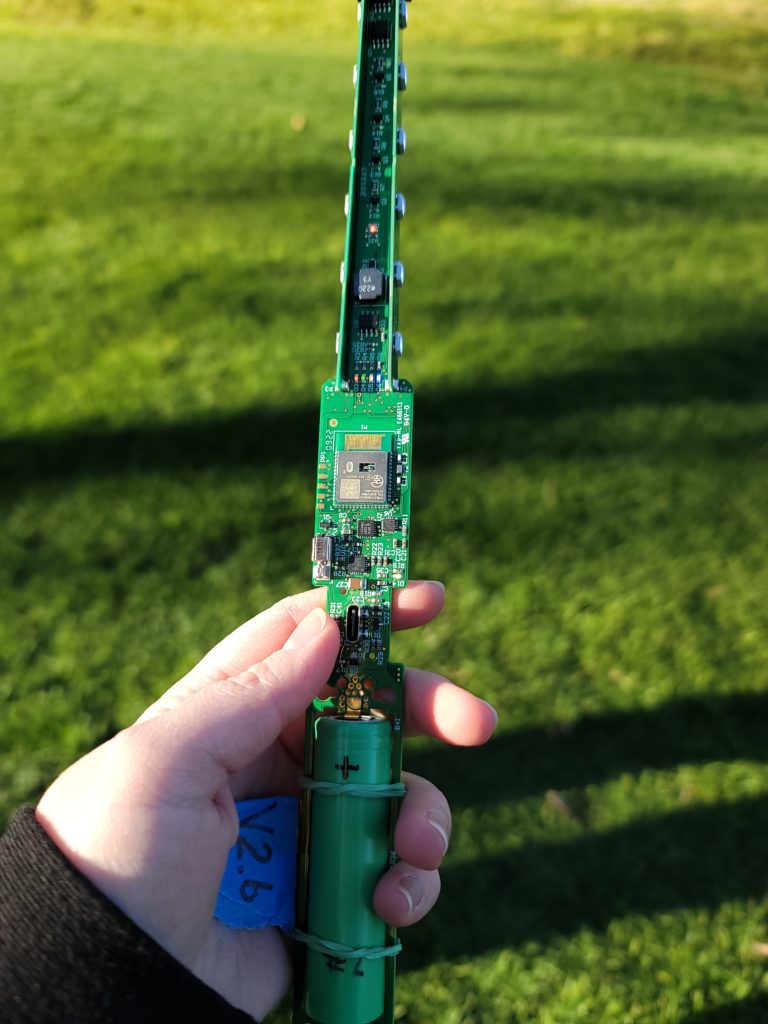
By the third revision of the boards, we had all the hardware tested and the communications tested, so we can be confident that the design is right.
There were still physical changes to the PCB such as adding locator holes to secure the boards in the case. We tried to remove some of the “hand work”, which was the manual soldering that the machine could not do. That work is expensive and time consuming.
The last adjustment to the PCB involves increasing the separation between the battery contacts to accommodate a slightly larger rechargeable battery. This design change is measured in just a few thousandths of an inch!
The PCB design journey may be nearly complete, but we already have ideas of how to improve it for future versions!
Share your thoughts in the comments below!
- Have you ever seen a pick and place machine?
- Did you ever break open an electronic device to look at the boards and wires?
- What did you notice?

Want more Wizard Tag updates?
Follow our Progress as we create Laser Tag for Wizards!
#makingmagicreal
Browse the Latest Blogs:

Game Review: The Vale of Eternity
- 6 min read
- Date: May 12, 2024

Game Night: Root
- 4 min read
- Date: May 5, 2024
Wizard Tag Web Design
- 4 min read
- Date: April 28, 2024
I NOTICED SOMETHING… our “final” circuit board design already has a few major changes coming that will greatly enhance wand abilities!
TWO thoughts: The more things change, the more they stay the same. The inverse is also TRUE! The more things stay the same, the more they change!